A Step-by-Step Guide From Idea to Completion
Remodeling your home can be one of the most exciting projects you ever take on. It’s an opportunity to transform your space, improve functionality, and create an environment that truly reflects the way you live. But for many homeowners, the idea of remodeling also brings a fair amount of anxiety.
Questions start to pile up quickly.
How much will it cost?
How long will it take?
Do you need permits?
Where do you even begin?
How much will it cost?
How long will it take?
Do you need permits?
Where do you even begin?
The truth is, most remodeling stress doesn’t come from construction itself. It comes from uncertainty and poor planning before the project begins.
When a remodel is approached with a clear strategy, the process becomes much smoother, more predictable, and even enjoyable.
In this guide, we’ll walk you through the entire process of planning a home remodel step by step — from the initial idea to the final walkthrough — so you can approach your project with confidence and avoid common pitfalls along the way.
Step 1: Start With a Clear Vision
Every successful remodel begins with clarity. Before you start meeting contractors or collecting quotes, take time to define what you actually want to achieve.Many homeowners start with a vague idea like “we want a nicer kitchen” or “we want a more modern bathroom.” While those goals are understandable, they’re not specific enough to guide a successful project.
Instead, ask yourself deeper questions.
What problem are you trying to solve?
Is your kitchen too small?
Does the layout feel cramped?
Do you need more storage?
Is the design simply outdated?
Is your kitchen too small?
Does the layout feel cramped?
Do you need more storage?
Is the design simply outdated?
The more specific you can be about your goals, the easier it becomes to create a plan that delivers the right results.
For example, a homeowner who says “I want a modern kitchen” may actually mean several different things:
They may want more counter space.
They may want better lighting.
They may want a large island for entertaining.
They may want better storage.
They may want better lighting.
They may want a large island for entertaining.
They may want better storage.
Each of these goals affects the design process in different ways.
Spend time gathering inspiration from design websites, magazines, and social media. Save images that resonate with you, but pay attention to why you like them. Is it the color palette? The layout? The materials?
By identifying the elements you love most, you give your designer and contractor a clearer direction.
Step 2: Set a Realistic Budget
Budget is one of the most important factors in planning a stress-free remodel.
Many homeowners hesitate to discuss budget early in the process, but being transparent about financial expectations actually helps the design process move more efficiently.
Remodeling costs vary widely depending on several factors:
The size of the project
The quality of materials
Structural changes
Labor costs
Permit requirements
Unexpected repairs
The quality of materials
Structural changes
Labor costs
Permit requirements
Unexpected repairs
It’s also important to include a contingency fund. Even the best-planned projects can encounter surprises once walls are opened or systems are inspected.
Most contractors recommend setting aside an additional 10–20 percent of your project budget to handle unforeseen issues without disrupting the overall plan.
Establishing a realistic budget early allows your contractor and designer to recommend materials, layouts, and solutions that align with your financial comfort zone.
This helps prevent frustrating situations where you fall in love with designs that ultimately exceed your budget.
Step 3: Choose the Right Contractor
Selecting the right contractor is one of the most important decisions you will make during your remodel.
A great contractor doesn’t just build your project — they guide you through the entire process, manage logistics, coordinate trades, and help solve problems as they arise.
When evaluating contractors, look for the following qualities:
Clear communication
Experience with similar projects
Proper licensing and insurance
Positive reviews or referrals
Transparent pricing and contracts
Experience with similar projects
Proper licensing and insurance
Positive reviews or referrals
Transparent pricing and contracts
It’s also important to choose someone you feel comfortable working with. Remodeling projects require frequent communication and collaboration, so trust and professionalism matter.
During consultations, pay attention to how contractors respond to your questions. Are they patient? Do they explain things clearly? Do they seem organized?
These early interactions often reflect how the entire project will be managed.
Step 4: Move Into the Design Phase
Once you’ve chosen a contractor or design-build team, the project moves into the design phase.
This stage is where your ideas begin to take shape through layout planning, material selection, and technical drawings.
For many homeowners, this is the most enjoyable part of the remodeling process because it allows you to visualize the future of your space.
Design decisions may include:
Cabinet styles and finishes
Countertop materials
Flooring choices
Lighting plans
Plumbing fixtures
Appliance selections
Color palettes
Countertop materials
Flooring choices
Lighting plans
Plumbing fixtures
Appliance selections
Color palettes
While aesthetics are important, design is also about functionality. A well-designed space improves workflow, storage, and comfort.
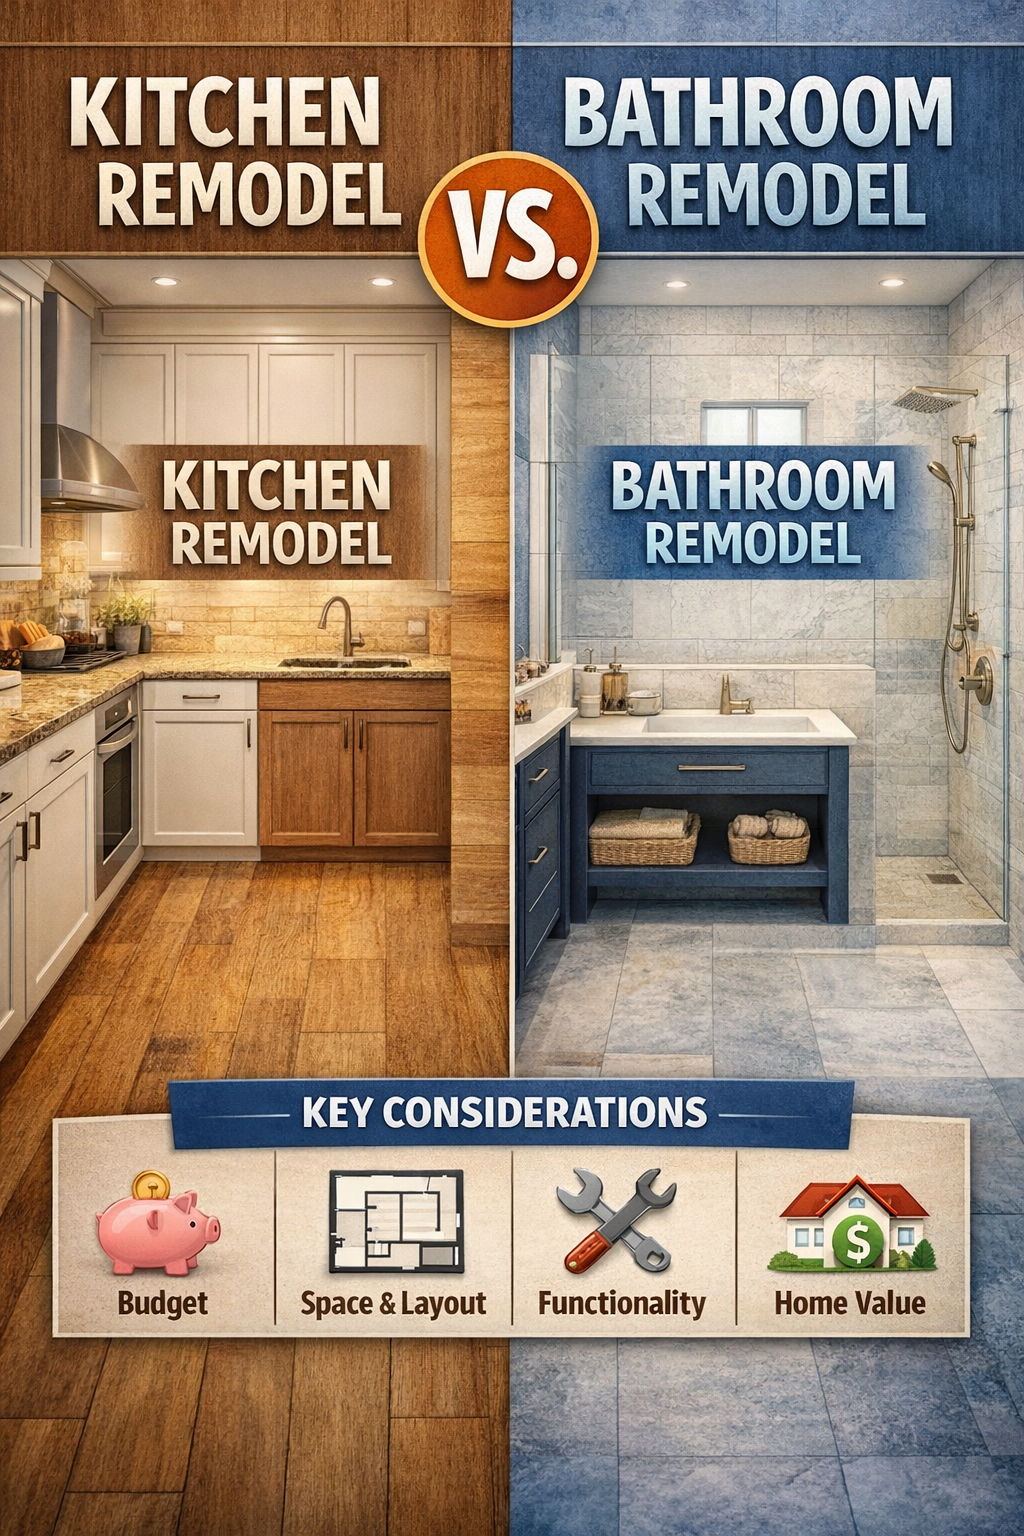
For example, a kitchen remodel may involve optimizing the work triangle between the sink, refrigerator, and stove. A bathroom remodel may involve improving lighting or maximizing storage in a smaller footprint.
Working closely with your designer during this stage ensures that the final result reflects both your style and your daily needs.
Step 5: Understand Permits and Regulations
Depending on the scope of your remodel, permits may be required before construction can begin.
Permits ensure that construction work meets local safety codes and building regulations.
Projects that commonly require permits include:
Electrical work
Plumbing modifications
Structural changes
Window or door alterations
Major kitchen or bathroom renovations
Plumbing modifications
Structural changes
Window or door alterations
Major kitchen or bathroom renovations
Permit requirements vary by city and project type, but a qualified contractor will handle this process on your behalf.
While permits can sometimes extend project timelines, they protect homeowners by ensuring that work is completed safely and legally.
Skipping permits may seem tempting in the short term, but it can create serious issues later when selling the home or dealing with insurance claims.
Step 6: Prepare for Construction
Before demolition begins, a few preparations can make the construction phase far less stressful.
If you are remodeling a kitchen, consider setting up a temporary cooking space with essentials like a microwave, portable burner, or mini fridge.
For bathroom renovations, make sure your household has access to another functioning bathroom if possible.
Clear personal items from the work area and nearby spaces to protect them from dust and debris.
It’s also helpful to discuss expectations with your contractor regarding working hours, site cleanliness, and communication updates.
A well-organized contractor will maintain a clean and structured work environment, which significantly improves the experience for homeowners living through a remodel.
Step 7: The Construction Phase
Once construction begins, your project moves through several stages.
The first stage typically involves demolition, where old materials and fixtures are removed to make way for new installations.
After demolition, the focus shifts to structural adjustments, plumbing and electrical work, and other foundational elements that must be completed before finishes are installed.
Next comes the installation phase, which includes cabinetry, countertops, tile work, flooring, lighting fixtures, and appliances.
Throughout this process, inspections may be required to verify that certain stages meet local building standards.
While construction may temporarily disrupt your daily routine, good project management keeps everything moving forward efficiently.
Regular communication between homeowner and contractor ensures that questions are addressed quickly and that expectations remain aligned.
Step 8: Final Touches and Walkthrough
As construction nears completion, the project enters the finishing stage.
This includes final painting, hardware installation, fixture adjustments, and detailed cleaning of the space.
Once everything is complete, your contractor will conduct a final walkthrough with you to review the project together.
During this walkthrough, you can identify any small adjustments or touch-ups that may be needed.
This final step ensures that the finished space meets both your expectations and the contractor’s quality standards.
Step 9: Enjoy Your Newly Remodeled Space
After weeks or months of planning and construction, the moment finally arrives when you can enjoy your newly remodeled home.
A successful remodel doesn’t just improve how your home looks. It improves how it functions and how it supports your lifestyle.
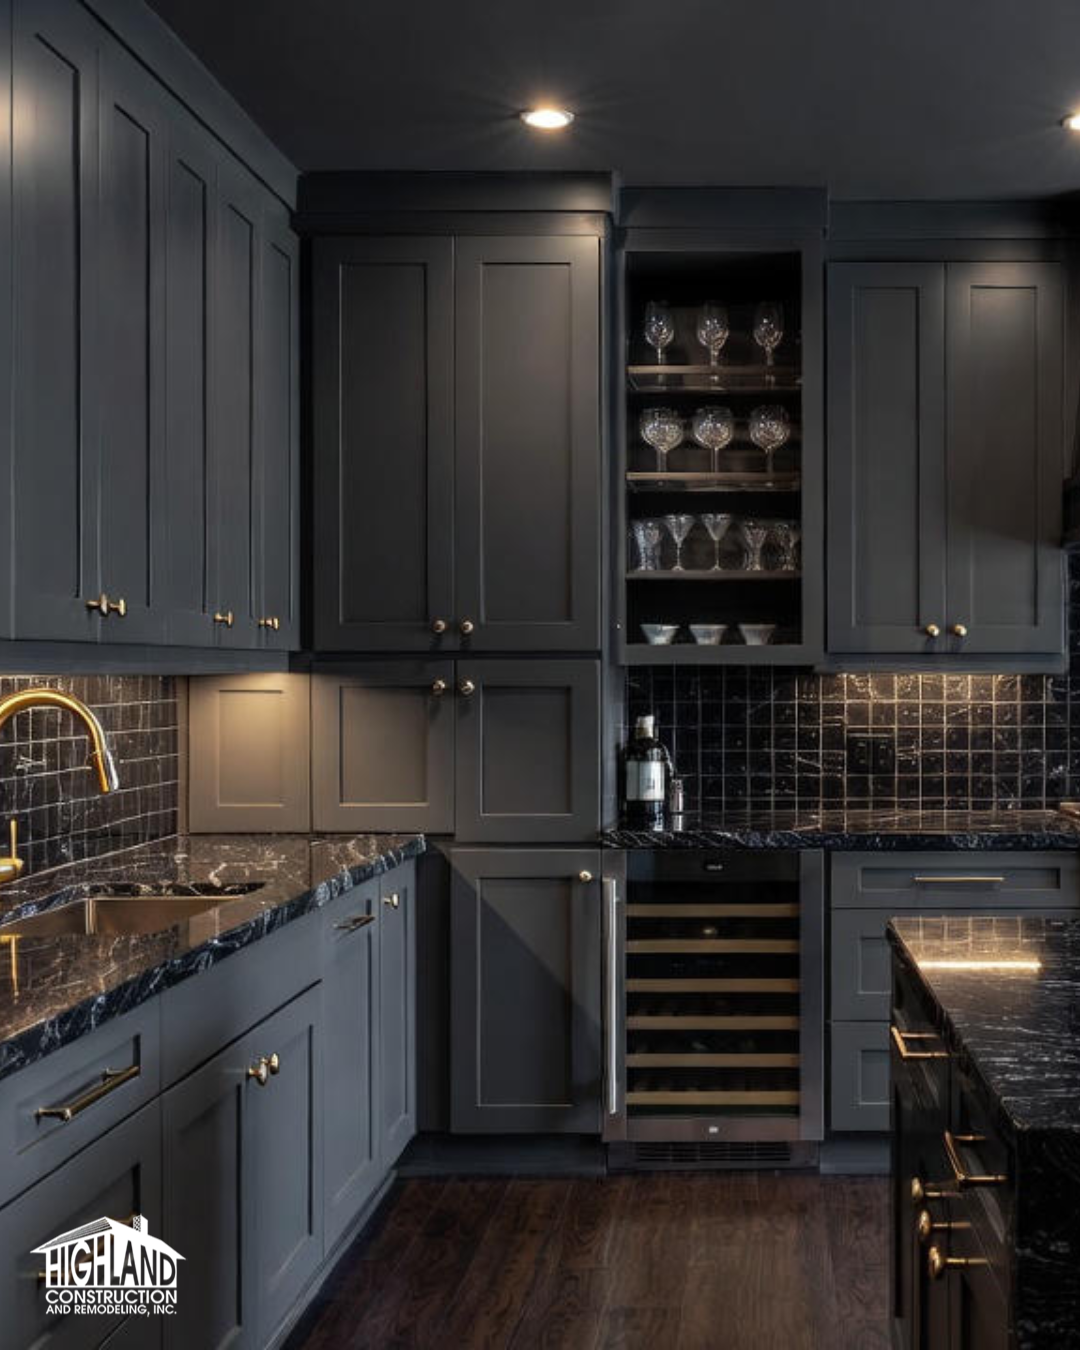
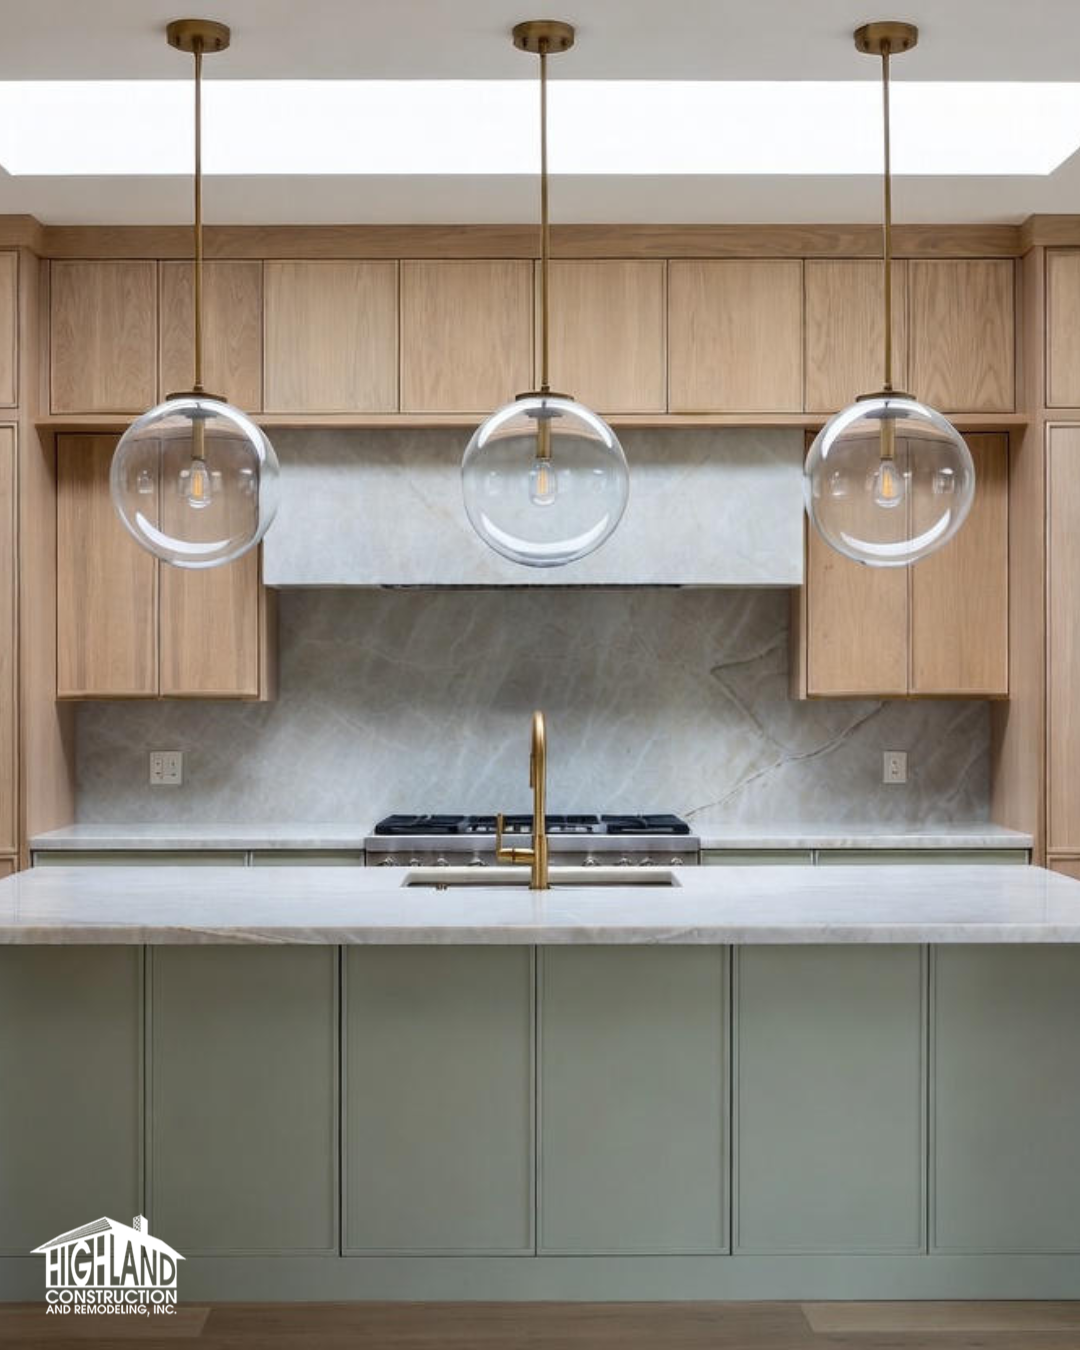
A kitchen remodel can make cooking and entertaining easier.
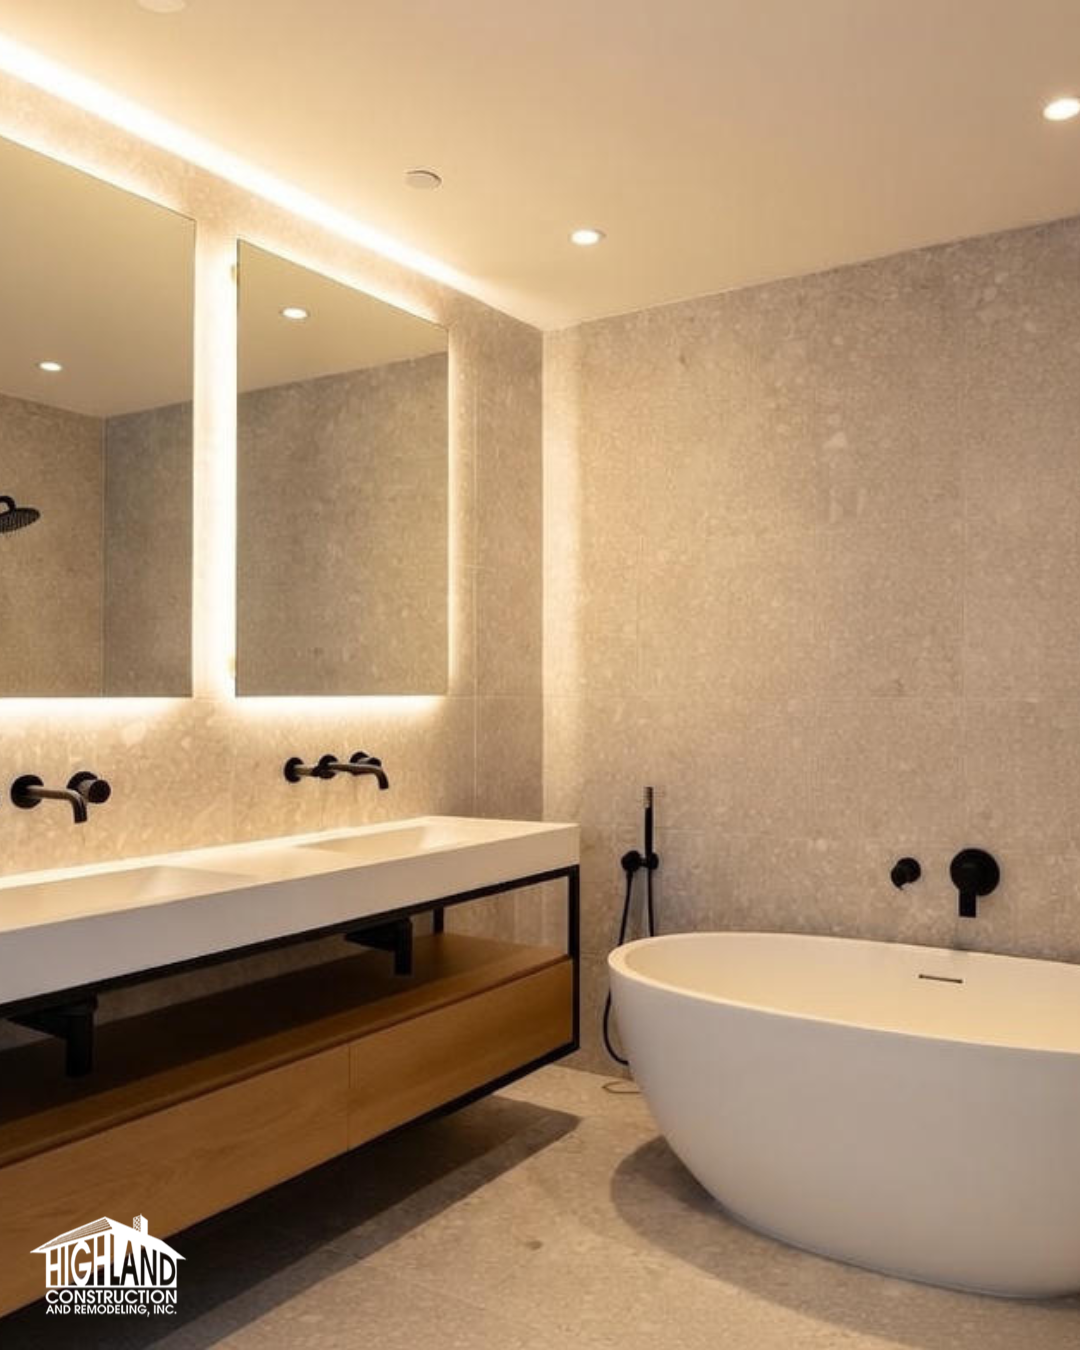
A bathroom remodel can create a relaxing retreat.
A room addition can provide much-needed space for a growing family.
A bathroom remodel can create a relaxing retreat.
A room addition can provide much-needed space for a growing family.
The key to reaching this point without unnecessary stress is preparation.
When homeowners invest time in planning, choosing the right team, and communicating clearly, remodeling becomes a rewarding experience rather than an overwhelming one.
Final Thoughts
Remodeling your home is a significant investment of time, money, and energy. But with the right preparation, it can also be an incredibly fulfilling journey.
By starting with a clear vision, establishing a realistic budget, working with experienced professionals, and understanding the steps involved, you can transform your space with confidence.
Remember that every successful remodel is built on collaboration, thoughtful design, and careful planning.
When those elements come together, the process becomes far less stressful — and the results are well worth the effort.
Your home should grow and evolve with your lifestyle, and remodeling offers the perfect opportunity to make that happen.